Being prepared in the wilderness is more than just having the right gear and clothing. You also need to be equipped for a medical emergency. It's true that most hikes and backpacking trips go smoothly, but you can't always count on being injury-free. Do enough hiking, and you eventually will have to deal with minor injuries like a sprained ankle or a blister. You should always have some first aid supplies on hand and the knowledge to use them effectively.
Rarely you will encounter a severe injury on the trail, but if you do, you should have medical supplies and a plan in place for contacting emergency services. The biggest hurdle you face on the trail is time. You need to stabilize an injury because a hospital or a doctors office is not right down the street. Having some backwoods medical training is helpful so you can keep the injured person comfortable until you can get them out of the woods or professional medical help arrives.
STEP 1: Know the Common Injuries
Common injuries like a cut or a blister are easy to treat and shouldn't take you off the trail. Below are some tips and tricks to help you handle these minor issues while hiking.
A. Scrapes, Cuts or Gashes
Clean the wound with filtered/sterile water if possible or an antiseptic wipe if you have them. Cover the wound with a sterile gauze pad or similar dressing and apply direct pressure to the bleeding wound. Keep the wound elevated above the heart to control bleeding. Use gloves if you are treating another person. Once the wound is cleaned and the bleeding is under control, bandage with gauze or apply a bandaid as needed.
B. Pain, Fever, Inflammation
Reduce inflammation first with a cold compress, either one you pack or that you make yourself. For the DIY option, you can use a piece of clothing soaked in cold water or packed snow depending on the season. Then, take a Non-Steroidal Anti-Inflammatory Drug (NSAID) like ibuprofen or acetaminophen to further reduce inflammation. NSAIDs are also effective at reducing pain and fever.
C. Blisters or Chafing
Treat friction blisters by popping them with a sterile needle, cleaning with water and covering them with antibiotic cream and a bandaid. You can treat chafing with vaseline or a similar lubricant to reduce friction and powder to keep the area dry. Vaseline is also useful in preventing blisters if you feel a hot spot developing.
D. Diarrhea OR STOMACH PAINS
Diarrhea causes dehydration so you'll want to up your fluid intake and drink electrolyte replacement drinks like Gatorade if possible. If you cannot stop diarrhea and it continues beyond a day, then consider using Loperamide. Take as directed; the effect is almost immediate. Just don't overdo it or you will end up constipated which is nearly as bad as diarrhea.
E. Splinters or Stings
Small splinters can be pulled out with tweezers, and the area cleaned with sterile water or an antiseptic wipe. If the splinter leaves a wound, you can use a band-aid and some antibiotic cream to ensure you don't get an infection.
Stingers also can be removed with tweezers. Be careful to grab only the stinger and not the venom sack. Stings can be treated with a combination of NSAIDs (Acetaminophen/Ibuprofen) and cold compresses to relieve discomfort. An antihistamine (diphenhydramine or loratadine) along with an NSAID can reduce a mild allergic reaction like redness and swelling around the sting area. If a person has a known allergy and carries an auto-injector, then they can be treated with epinephrine right away. If no treatment is available or the reaction is severe (e.g. difficulty breathing, tightness in chest/throat, fainting or nausea), find a way to immediately evacuate the person who was stung.
F. Allergies
The best treatment for a mild allergic reaction (rash, itching, watery eyes, runny nose) is an antihistamine like diphenhydramine or loratadine. Hydrocortisone cream can be applied on the skin if there is a rash. If the allergic reaction is severe, then you must evacuate the person as soon as possible.

© Jason Eppink (CC BY 2.0)
STEP 2: Consider Your Kit and Conditions
There are four things to consider when deciding how big of a kit you need and what items to include in it.
A. Hiking Conditions: Before you stuff your backpack full of Neosporin and band-aids, you need to stop and carefully consider your hiking environment before gathering your medical supplies. Think about where are you hiking and the probable hiccups that you will encounter - weather, temperature, trail conditions, elevation, plants and animals. Then choose supplies that are suitable for the area where you will be adventuring.
B. Safety vs. Comfort: Be careful when packing first aid supplies that you don't overpack. You should strike that balance between over-prepared and careless. You don't want to take a bulky professional medical kit on your trip, nor do you want to travel without any first aid supplies. Resist the temptation to sacrifice your first aid needs because you want to trim ounces from your base weight.
C. Duration of Hike and Size of Group: Pack medical supplies based on the number of days and the number of people on your trip. Add some extra items for longer trips with multiple people and scale back when you are only going to be away for a few days or are hiking solo.
D. Retail Kits vs DIY: For convenience, you can purchase pre-packaged first aid kits, but they tend to be heavy and have items you don't need. Instead, you can pack your first aid kit using supplies from around your house. Not only can you tailor the contents to your specific hiking needs, but you can keep the weight to a minimum. Your DIY kit will be so lightweight that you won't mind carrying it. Make a kit for each bag you use and leave it in there. Just don't forget to check the kit and restock it after each trip.
STEP 3: Make Your Ultralight First Aid Kit
You don't need to bring the kitchen sink with you when you hit the trail, but there are a handful of supplies you that you should add to your first aid kit. We've broken them down into essential and optional items. The must-haves cover most minor injuries while the optional supplies are nice to have, but can be left behind if you don't want to carry extra weight.
Must-Haves
1. Tweezers: Tweezers can remove splinters or even ticks in a pinch.
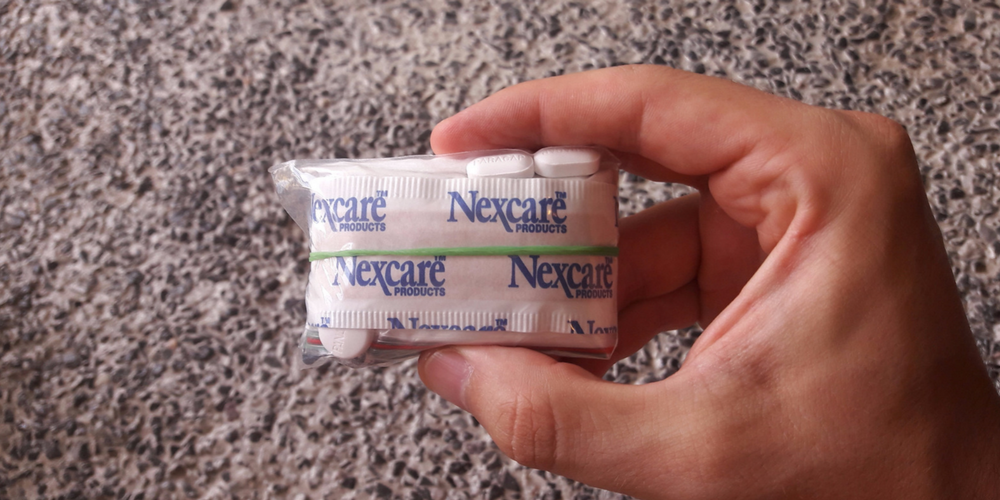
2. Gauze pads (2): Gauze pads are used to cover up wounds. You can hold them against a wound to stop bleeding and then cover the injury to keep the dirt and bacteria out of the cut.
3. Antiseptic wipes (4): Antiseptic wipes are used to clean up wounds. They not only remove dirt and debris, but they also help to kill any bacteria around the wound, lowering the chance of infection.
4. Butterfly bandages (4): Butterfly bandages can close a deep laceration when you are unable to get stitches.
5. Bandaids (4): Bandaids can cover up small wounds and scratches.
6. Duct tape or moleskin (2ft): Duct tape or moleskin can hold bandages in place or prevent blisters in hot spots. Pack it wrapped around a straw to save space.
7. Imodium or loperamide (4): Loperamide can relieve diarrhea so you aren't stopping every few minutes and running into the woods. Just be careful not to take too much and go to the opposite extreme.
8. Acetaminophen/Ibuprofen (4): These NSAIDs (Non-Steroidal Anti-Inflammatory Drugs) relieve pain and inflammation from sore muscles and joints, fever, toothaches, bites, stings, and more.
9. Lip balm, vaseline or zinc oxide: Lip balm and similar creams can be used to grease up and reduce friction on hot spots. They are indispensable to prevent chafing and even treat it after the fact.
10. Baby powder: Baby powder helps dry out steamy 'under the garment' spots. It also feels great on the feet after a long day in sweaty boots.

Optional
11. Needle and dental floss (2 ft): Needle and dental floss can be used for stitches in extreme emergencies.
12. Safety pins: Safety pins are great multi-purpose tools that can be used to fasten a bandage or secure a DIY sling. They also can hold up your shorts if a button breaks.
13. Claritin (Loratadine) or Benadryl (Diphenhydramine): Diphenhydramine or Loratadine is used for allergic reactions. It can stop the swelling and itching after a bee sting, black fly bite or an encounter with poison ivy.
14. Neosporin (Neomycin/polymyxin B/bacitracin) ointment: This triple antibiotic cream can keep wounds bacteria-free and help speed up the healing.
15. Pairs of latex gloves and/or hand sanitizer (inside a 0.1 to 0.35 oz dropper bottle): Latex gloves and hand sanitizer are useful when you are dealing with open wounds - yours or especially someone else's.
16. Zip-lock bag or stuff sack: Place all your emergency supplies in a zip-lock plastic bag or stuff sack.

Additional Resources
Having a well-stocked first aid kit is essential, but knowing what to do with these items inside the kit is vital. There are a variety of training courses you can take to prepare yourself in case an emergency arises. The most popular course for hikers and backpackers is Wilderness First Aid (WFA). This two-day course covers the necessary first aid skills you need in the wilderness and is often required for those leading backpacking and hiking trips. WFA classes are offered by NOLS, Solo, Red Cross and other organizations like REI and the AMC. Each WFA certification lasts for three years.
If you want more training than what is included in WFA, then you can take a Wilderness First Responder course, which lasts for a week and covers medical emergencies in detail. WFR is required for professional guides, search and rescue team members, ski patrol, and similar outdoor professions. CPR is another useful skill that you hope you never need to use. The class can be done as part of your WFA/WFR training or completed separately through your local hospital, 4H office, or elsewhere.

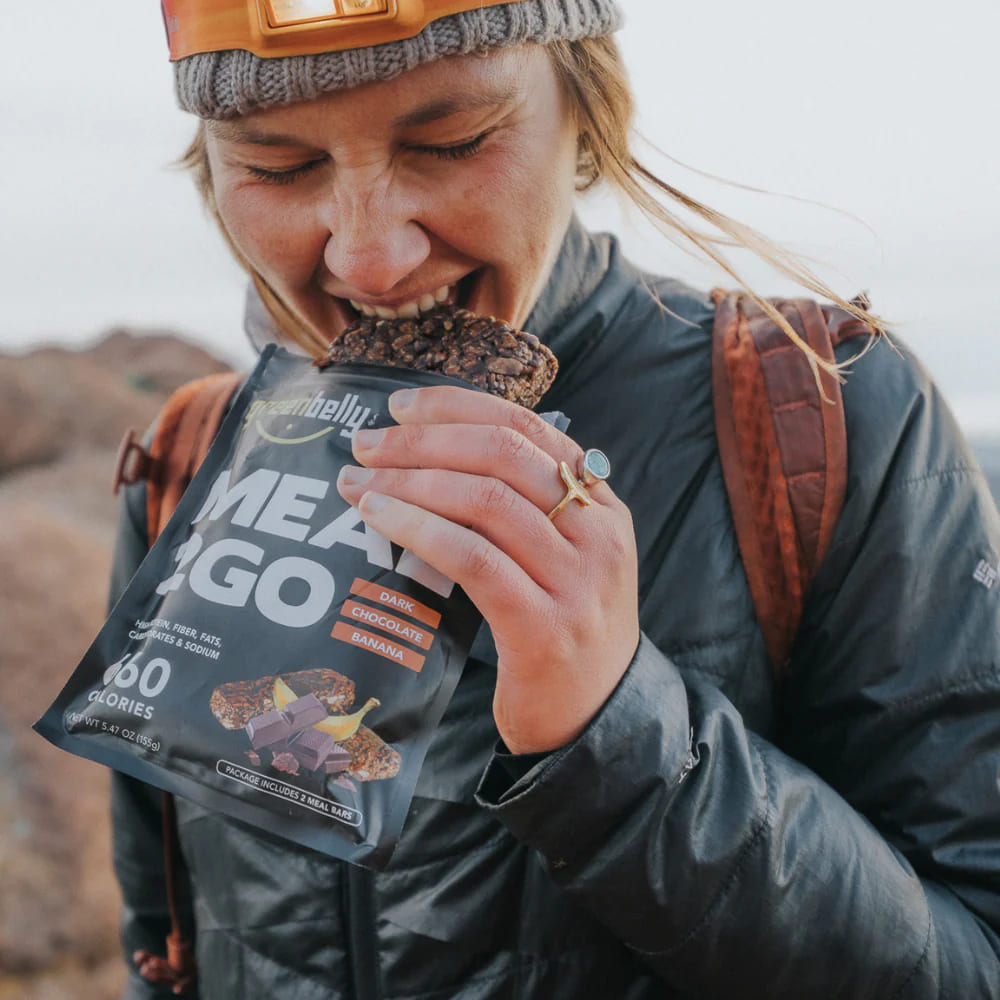
 650-Calorie Fuel